Macro Photography

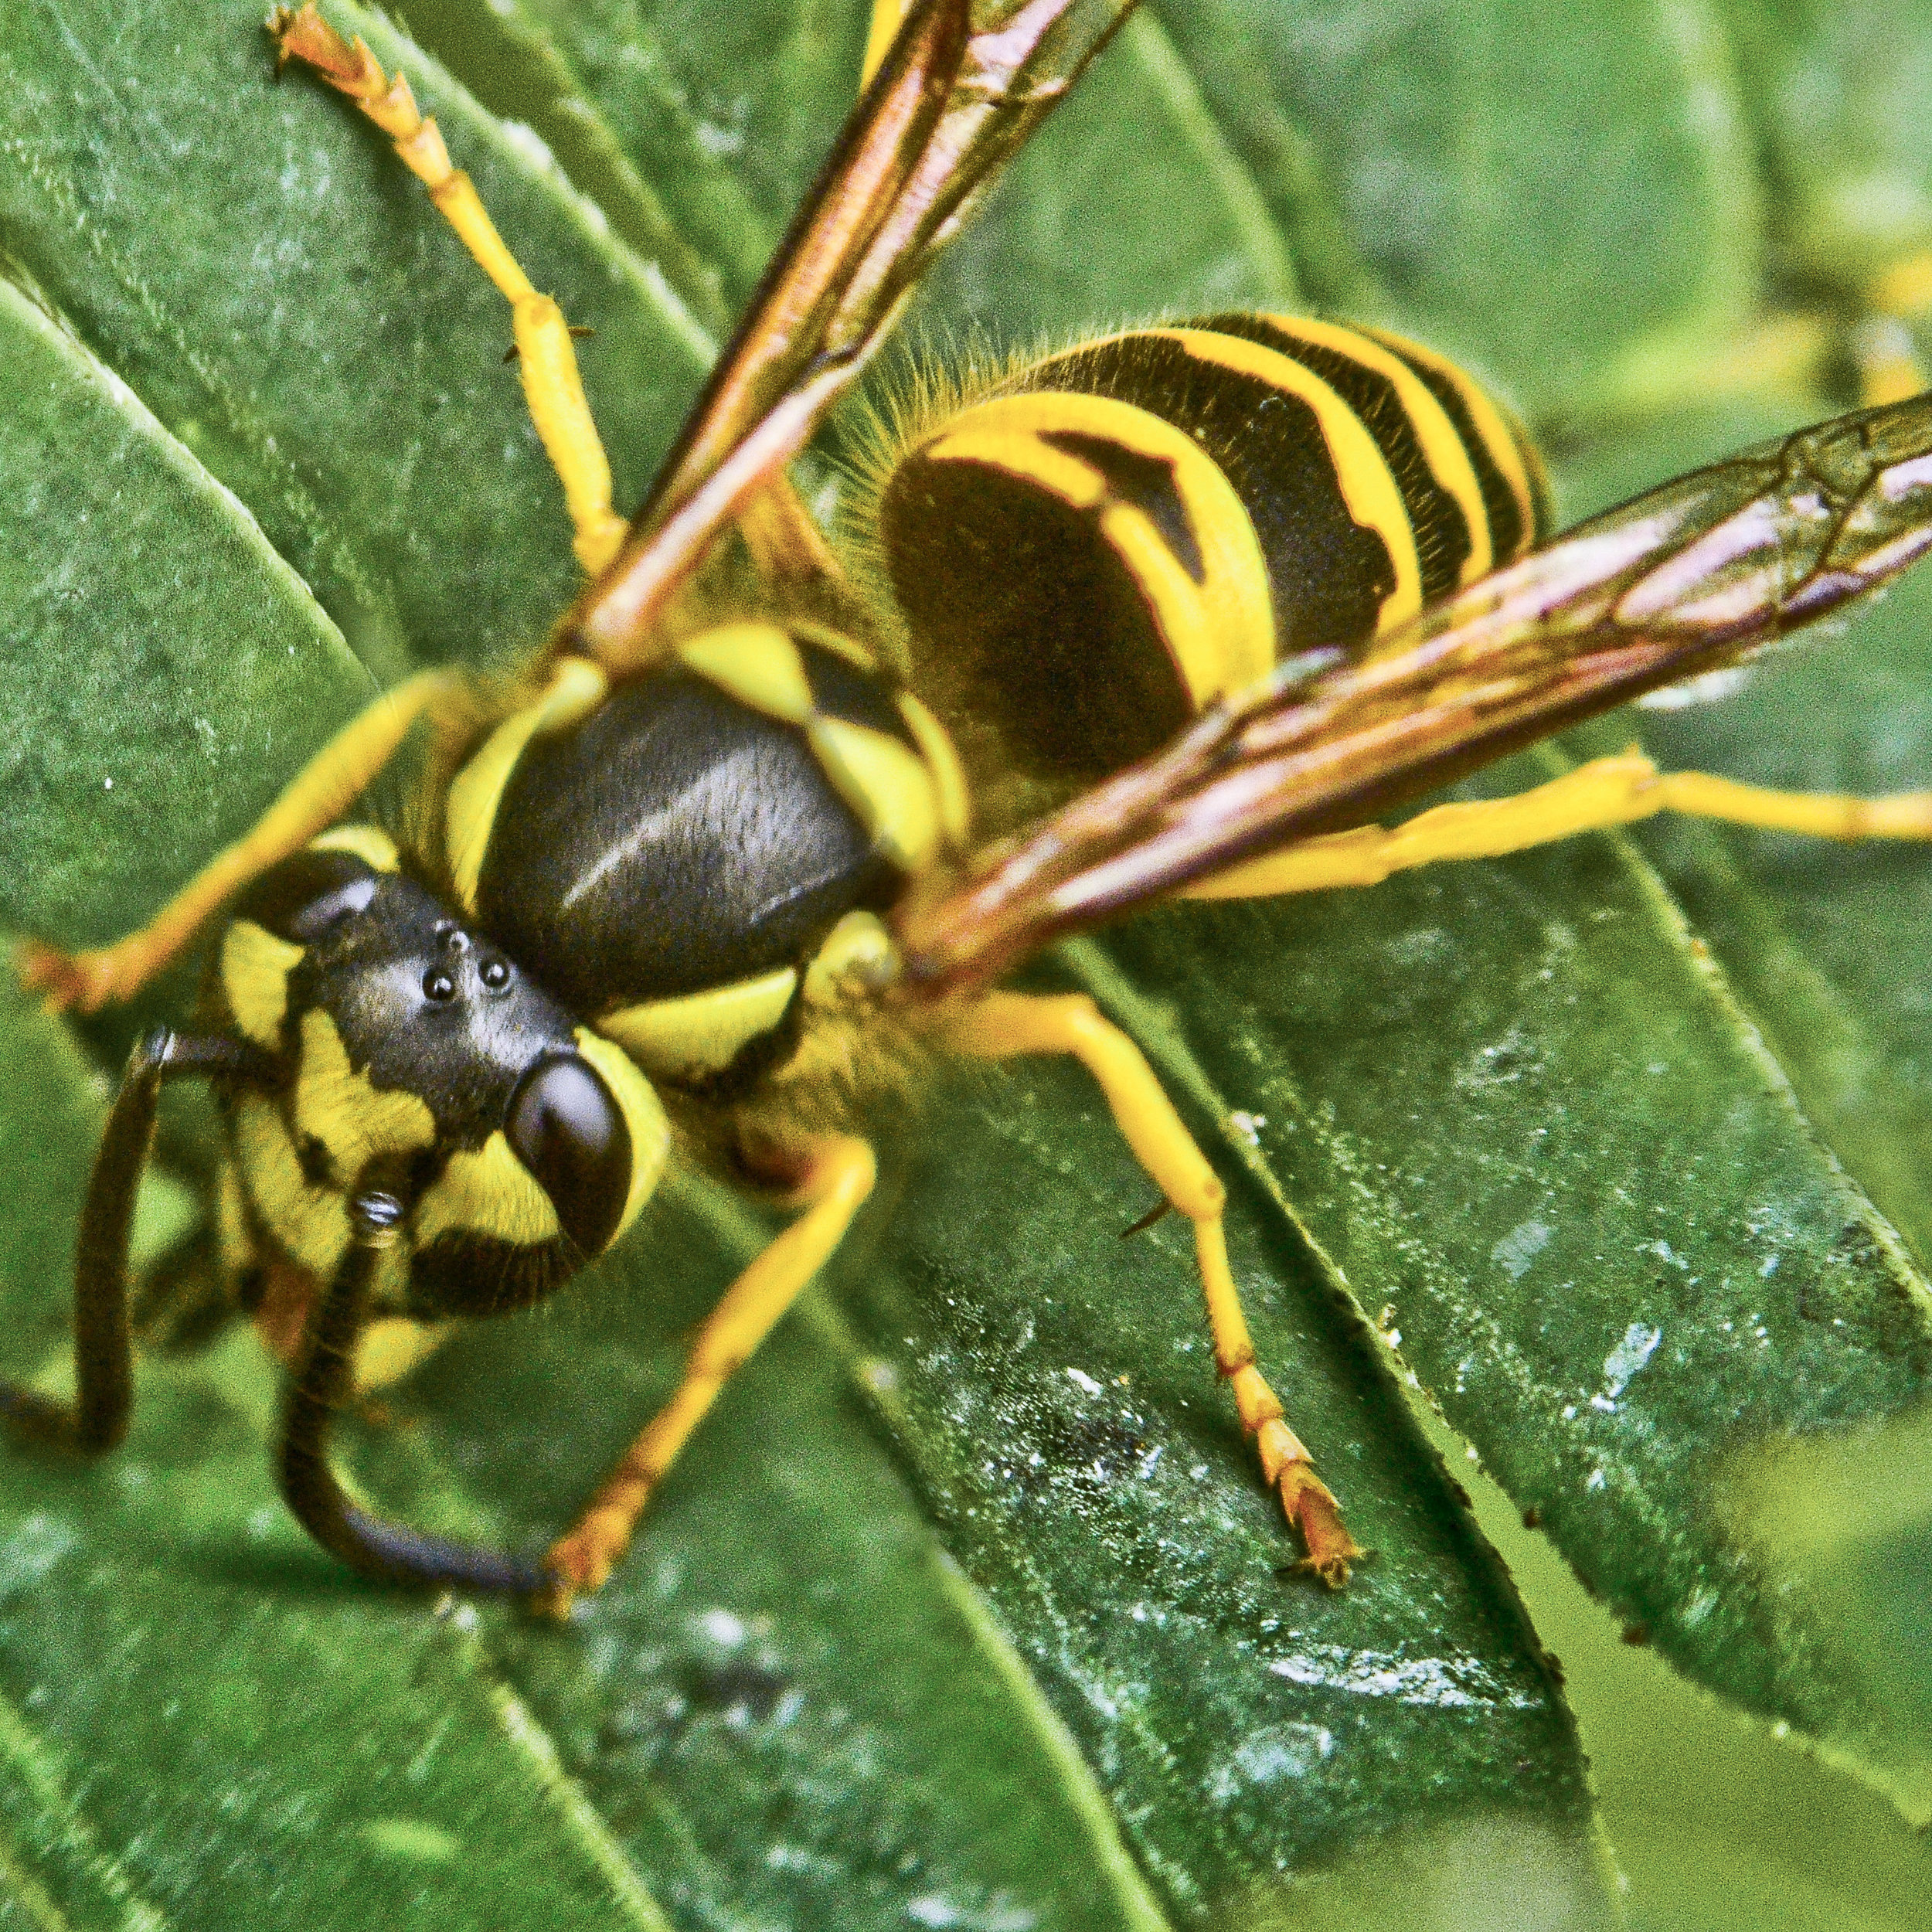
Macro, micro, close up, or whatever you want to call it, it's a type of photography that almost everyone has experimented with at least once. Rather on your phone or with your fancy pants camera, pretty much everyone has tried to take a picture of a bug before. Macro photography is where you capture a subject’s tiny little details, often times meaning getting incredibly close up to the subject. While fun, shooting this close to a subject can sometimes present difficulties. I am going to tell you the easiest and least expensive ways to get great results.

Most normal DSLR lenses can not focus closer than a few feet in front of the camera and produce a ratio of around 1:6. So a 10mm bug on a 35mm frame would only take up a tiny part of the frame at the closet focusing distance..

Technically, when shooting true 1:1 macro, a 35mm object would take up the entire frame of a 35mm camera. If your image sensor is 35mm across, a 10mm object would take up about 1/3 of the frame if you are shooting at a 1:1 ratio :) So a dedicated macro lens can produce an 1:1 image where normal lenses are usually around 1:6. Don't worry, I'm going to show you how to add cheap and simple accessories to a normal lens and still get 1:1 or even more!

The first thing you can do is screw on an inexpensive macro filter. This is basically a magnifying glass for your camera. It allows you to focus much closer than normal. The drawback is that when you have a macro filter on, you can only focus on things close up and you will not be able to focus on things far away. The good news is that your camera still functions like normal except for the focusing distance. You can get all kinds of magnifications, from very slight magnification to a really thick filter that allows you to focus insanely close. There is a slight decrease in light transmission and image sharpness but you will probably never notice. You also need to make sure you get the correct filter size.
The second option is a macro or extension tube. These little gadgets go BETWEEN your lens and your camera body. An extension tube increases the distance from your lens to your image sensor in your camera. This allows you camera to focus much closer than normal. Just like the macro filter, with an extension tube, you can only focus on things that are close up. Also like a macro filter, you can get different sizes of extension tubes that allow you to focus closer or farther. One thing I love about extension tubes is that they fit every lens that you can put on your camera. You only have to have one extension tube for all your lenses. These tubes come in a few types. One has electronics in it to allow your camera to function like normal while another type is a straight up piece of metal that doesn’t allow your lens to “talk” to your camera. This means that you have to have a lens with an aperture ring and you have to use your camera in full manual mode. The price difference between the tubes is negligible so make sure your extension tube has electronics in it. It is easy to tell because you can see the little metal contacts on both sides of the tube.
The next option is a bit crazy and impractical but pretty fun :) You can buy a mount/filter that you screw on to a lens and it allows you to mount your lens on your camera BACKWARDS. When you do this, you can take extremely close up images. The reverse mount only cost a few dollars but they do not have electronics, which means you are in full manual mode and you have to adjust the lens aperture manually. One cool thing about the reverse mount is that because you are mounting it backwards, you can use any kind of lens with the correct filter size :) The same focus limitations apply to this method as the previous two.
The final method I am going to mention is simply buying a macro lens. These lenses are designed especially for macro photography and allow you to focus far away (infinity) as well as all the way to a 1:1 ratio. The lenses are super sharp and built for close up tiny details. They usually have a smaller (bigger number) maximum aperture because of the way they are designed and the fact that with macro photography, you have such a small depth of field that you usually stop down your aperture anyway. The drawback is that it takes up considerably more room in your camera bag than a small filer and you can’t fit it in your pocket :) Oh, they can also cost around $700 on average.
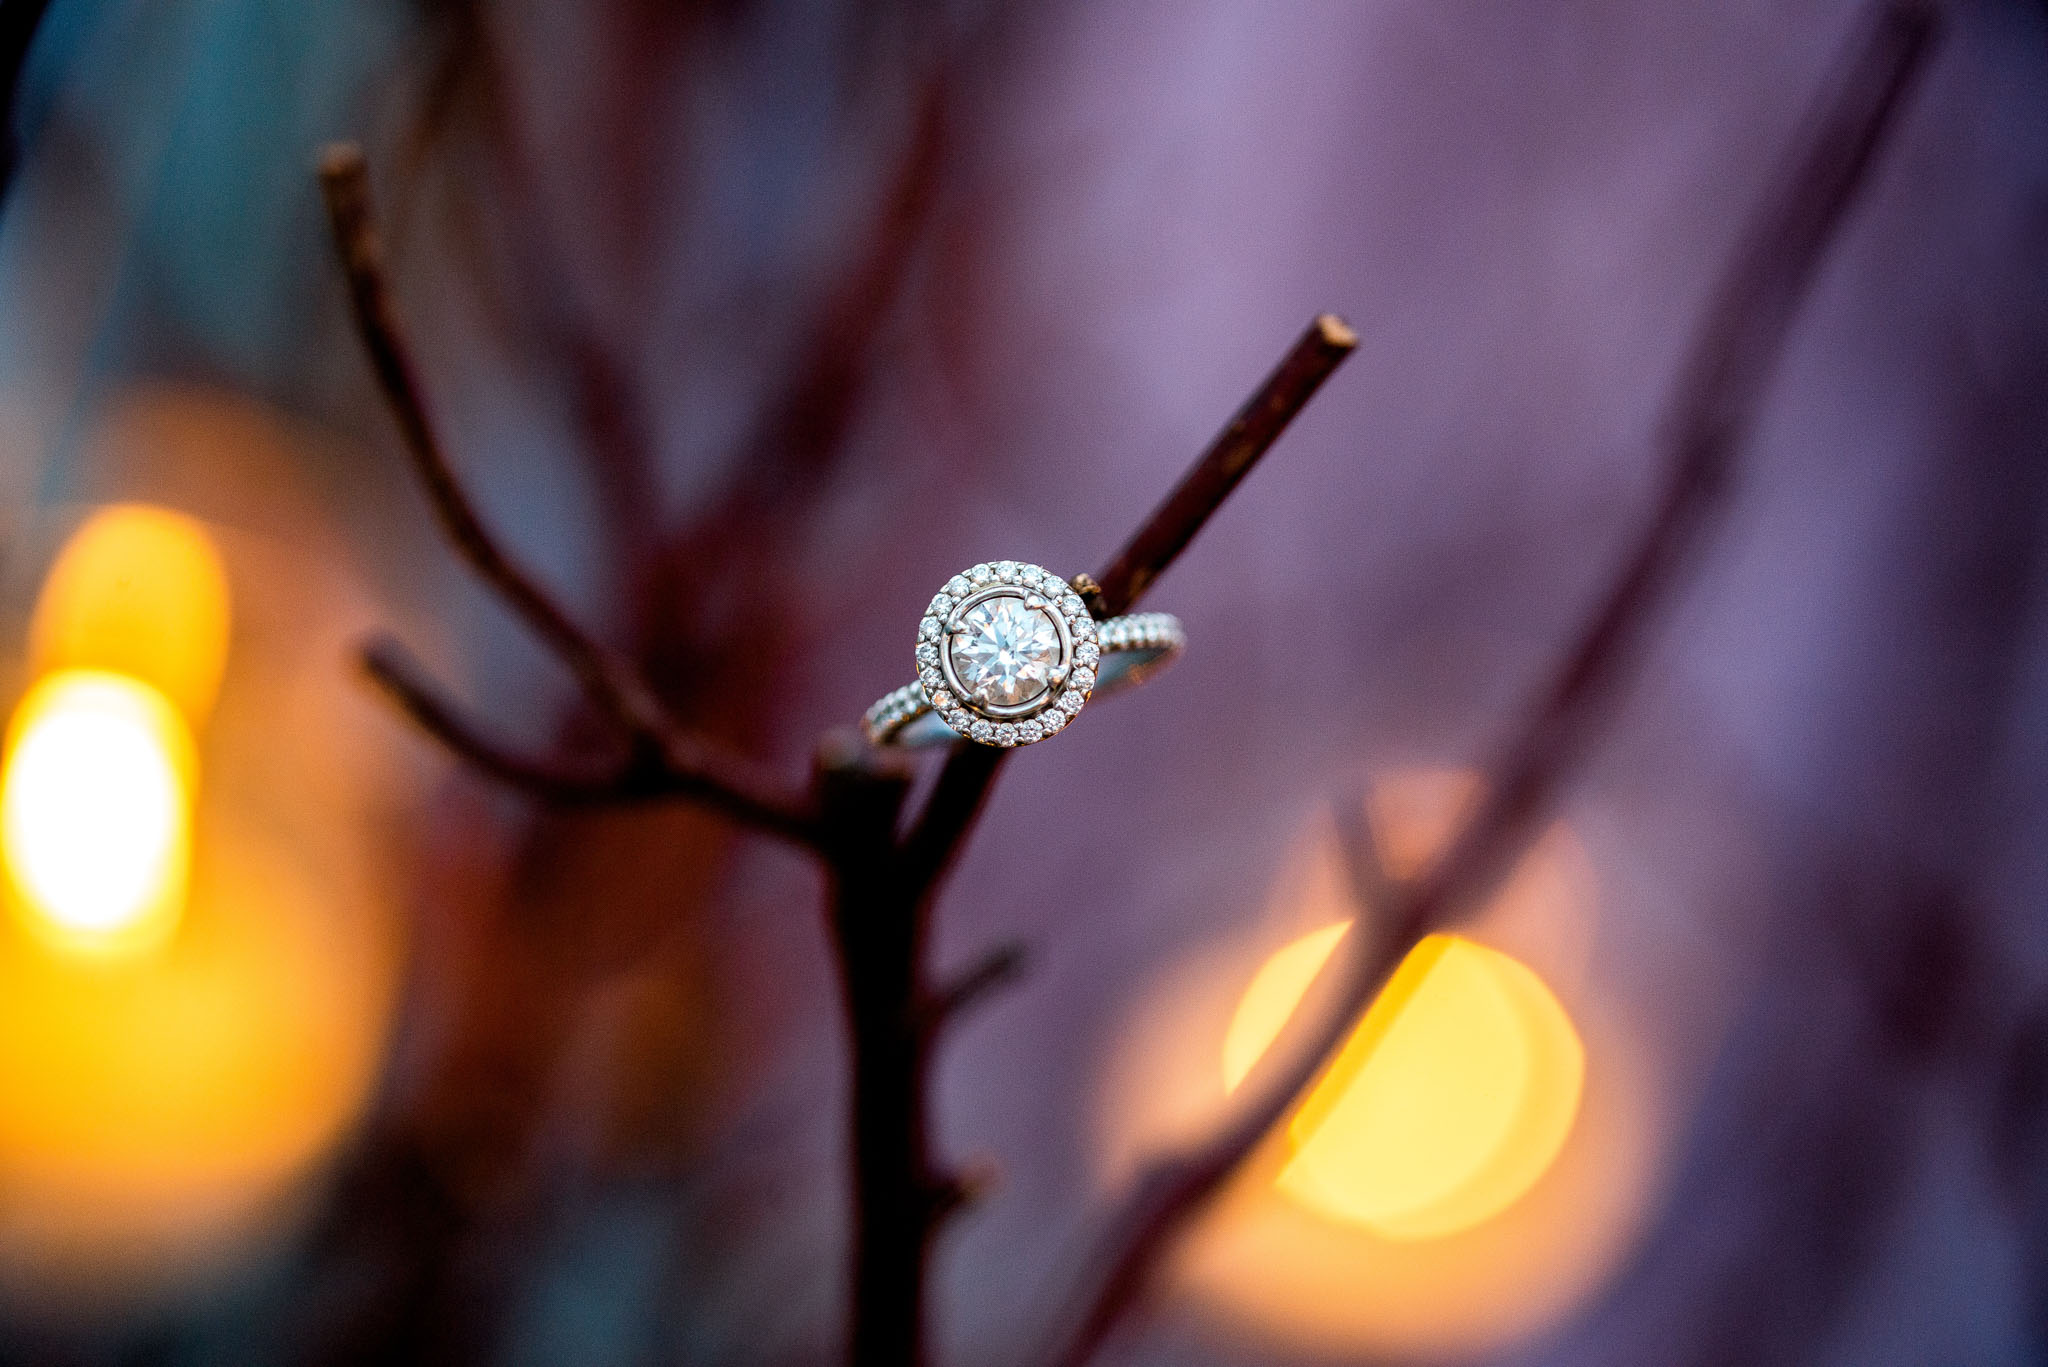
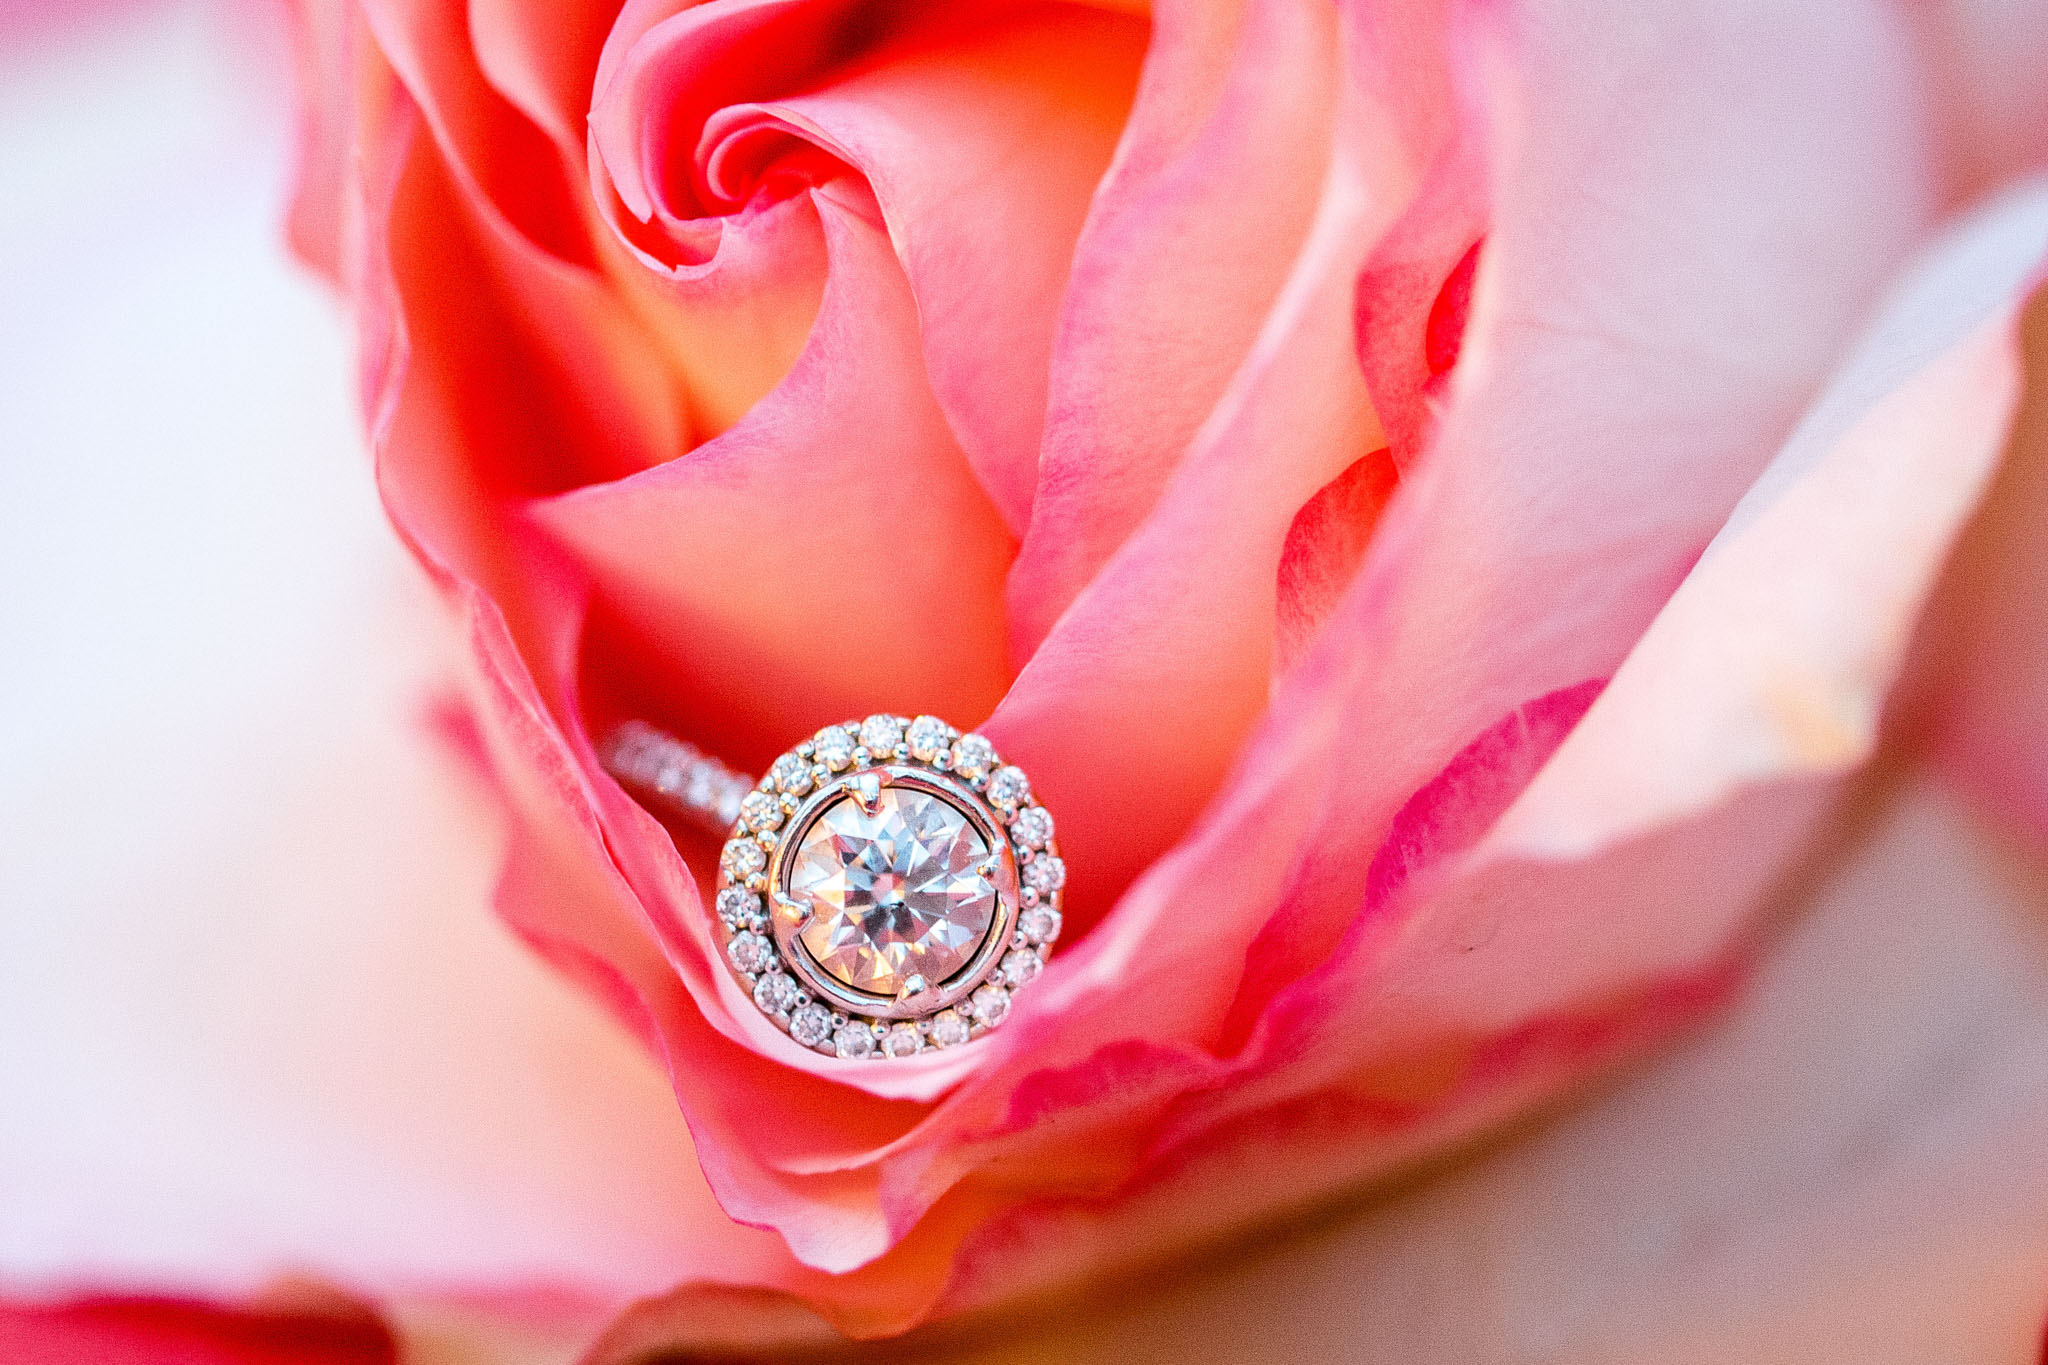
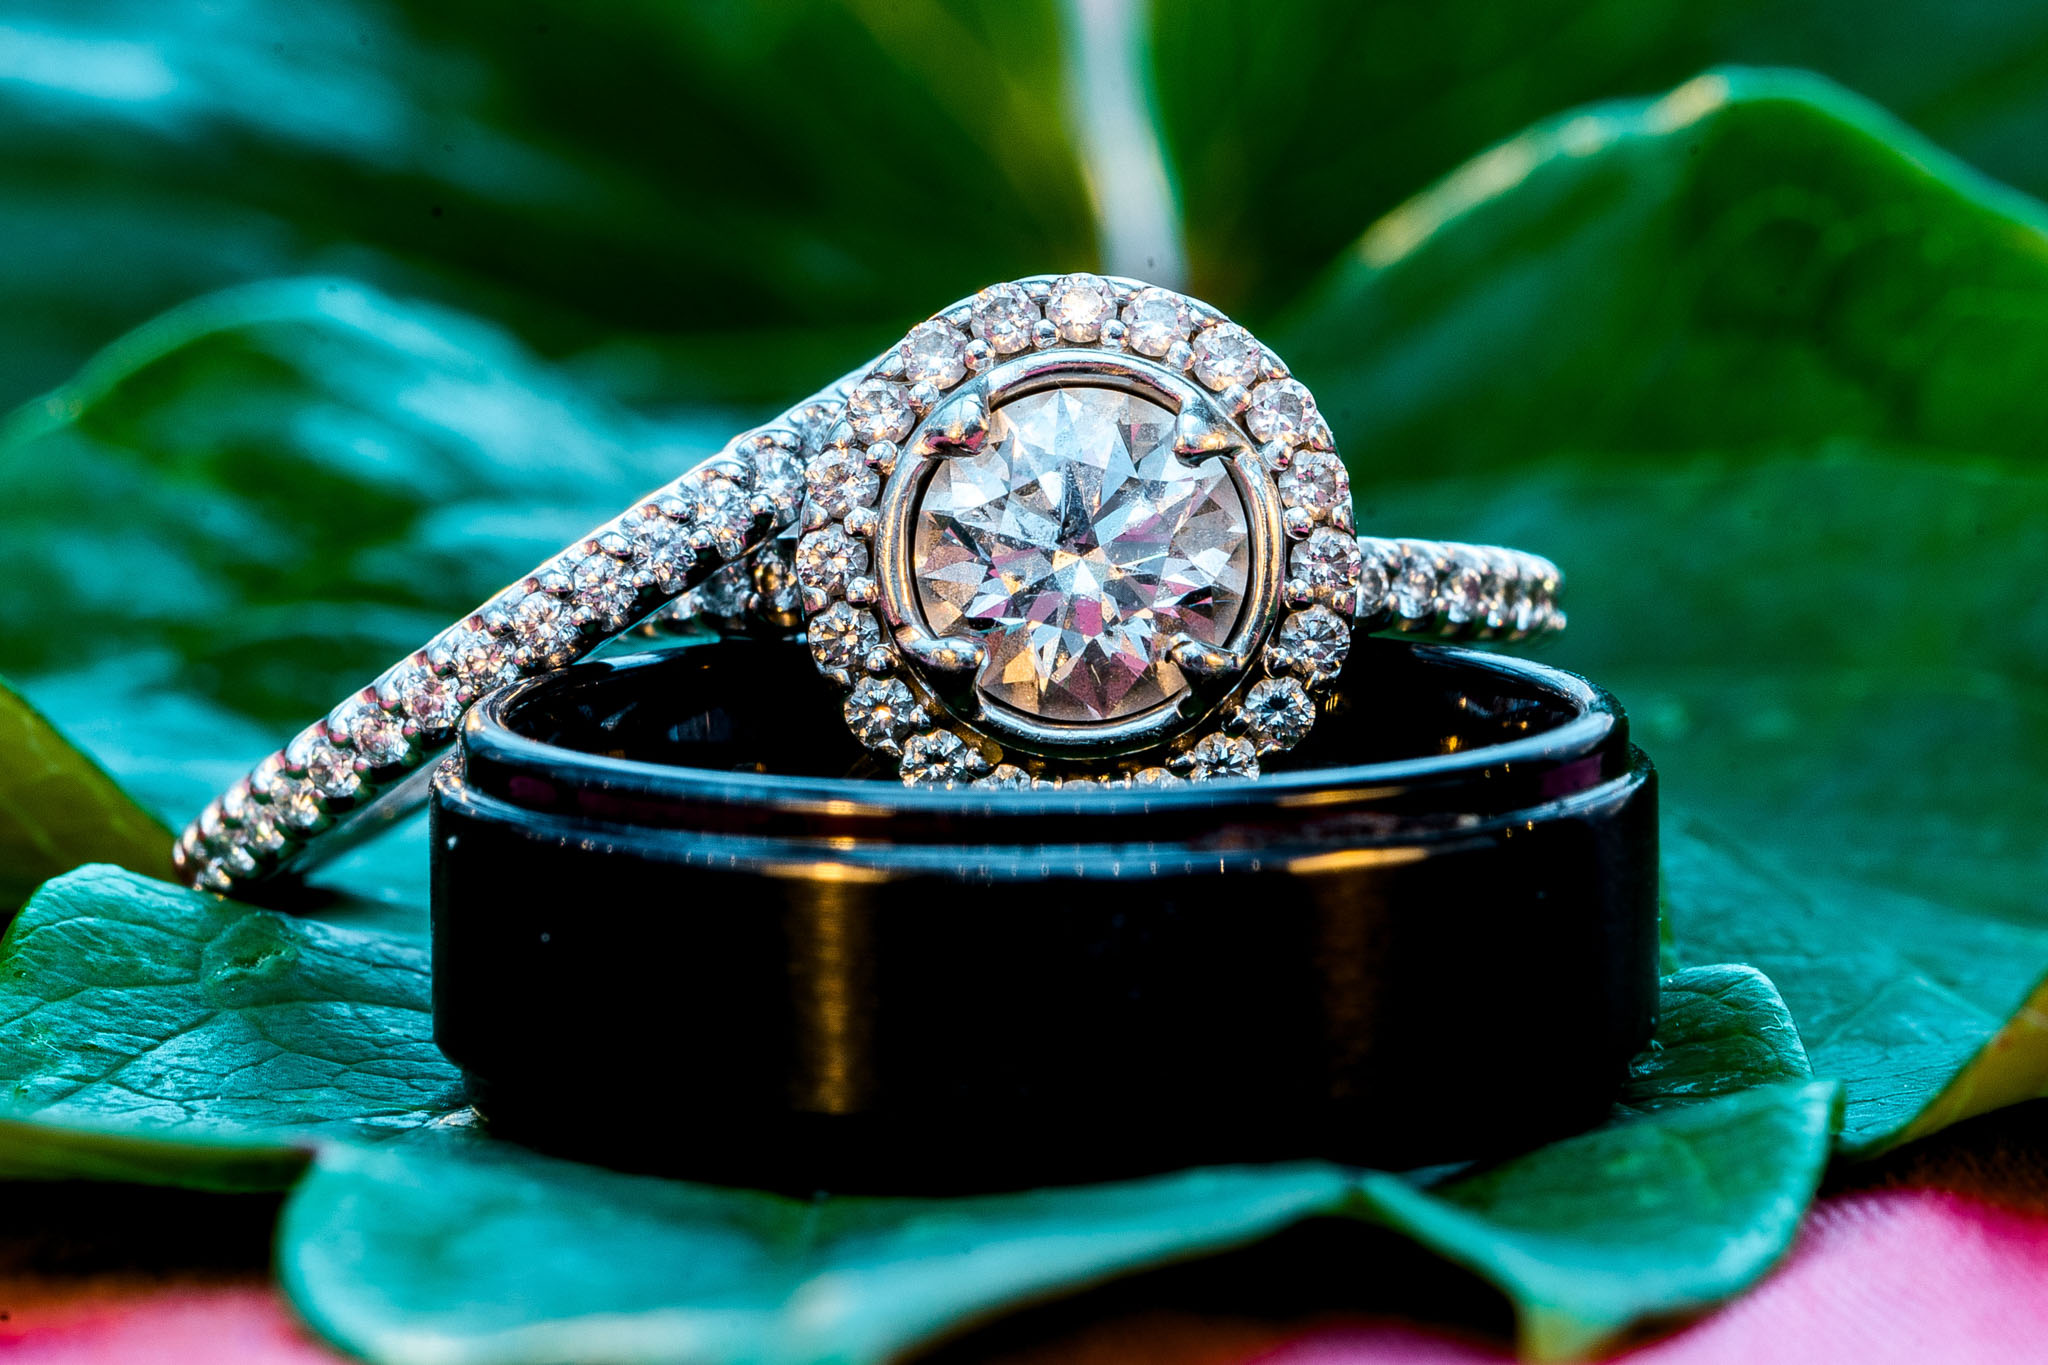
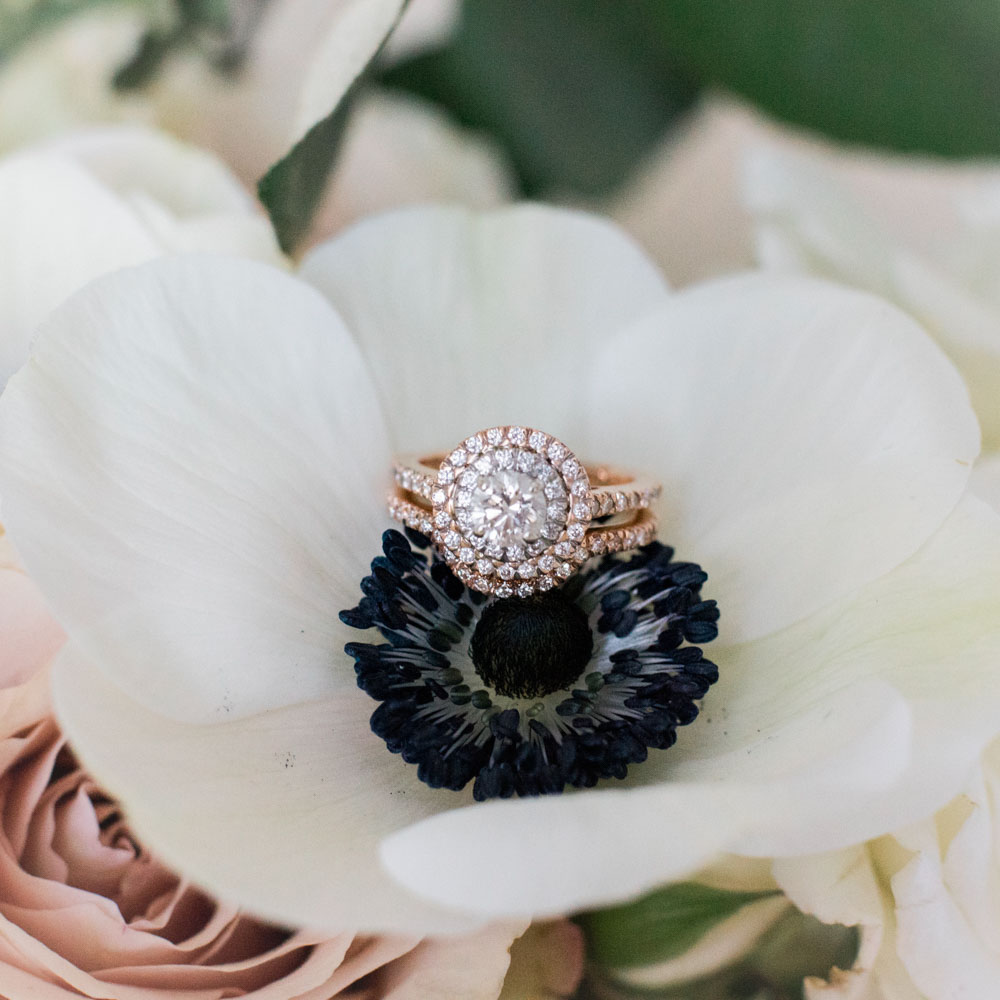
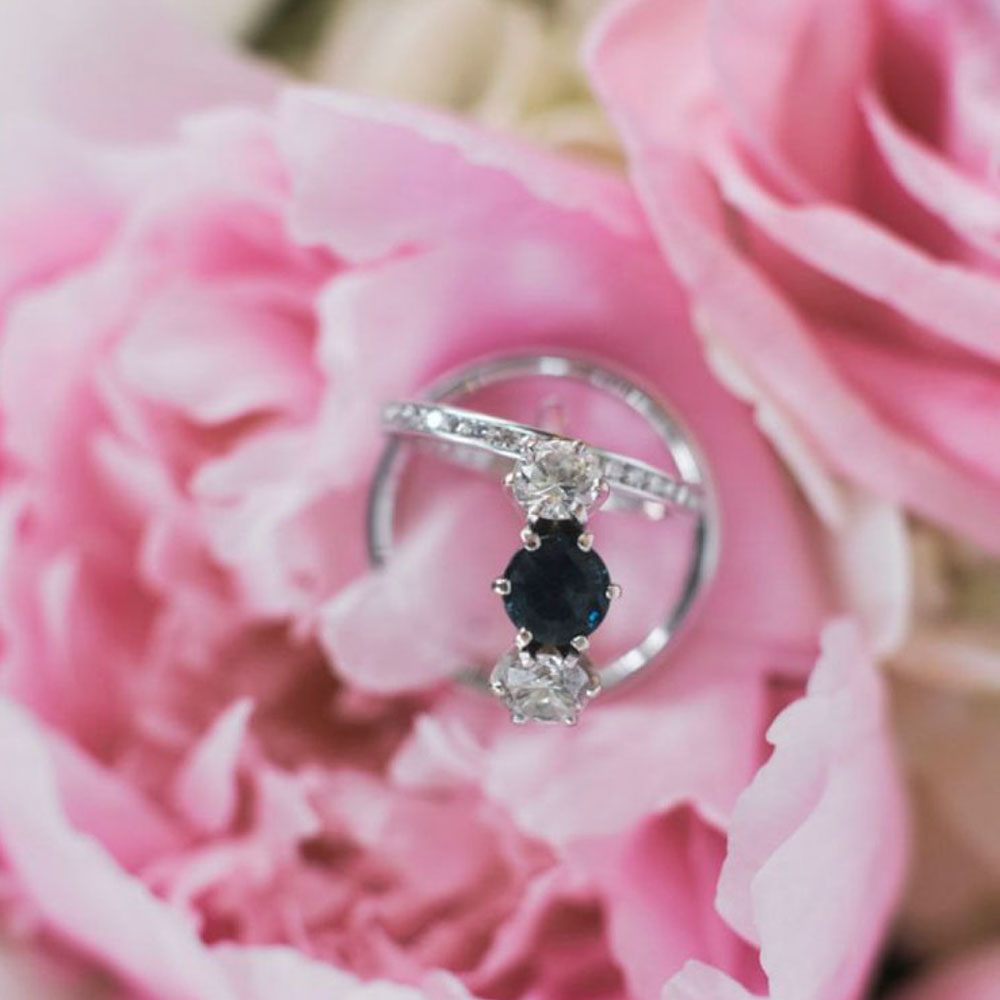
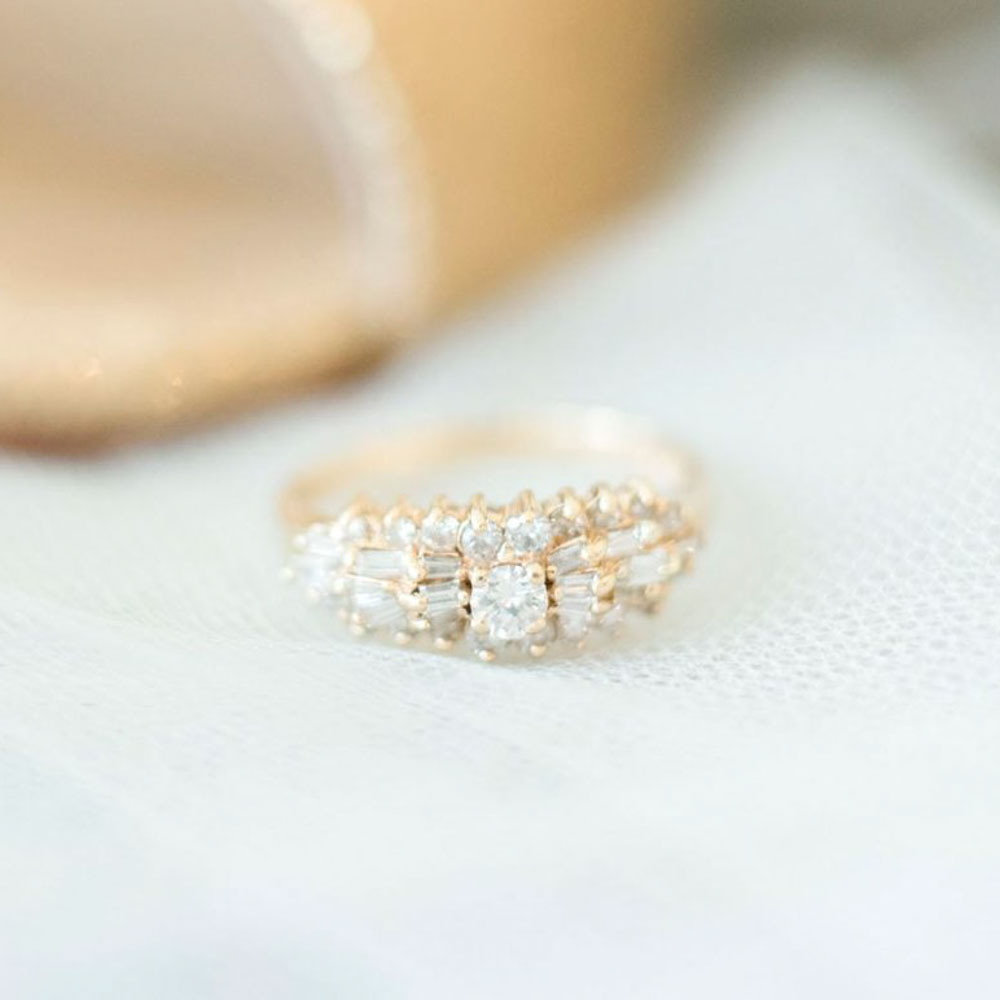
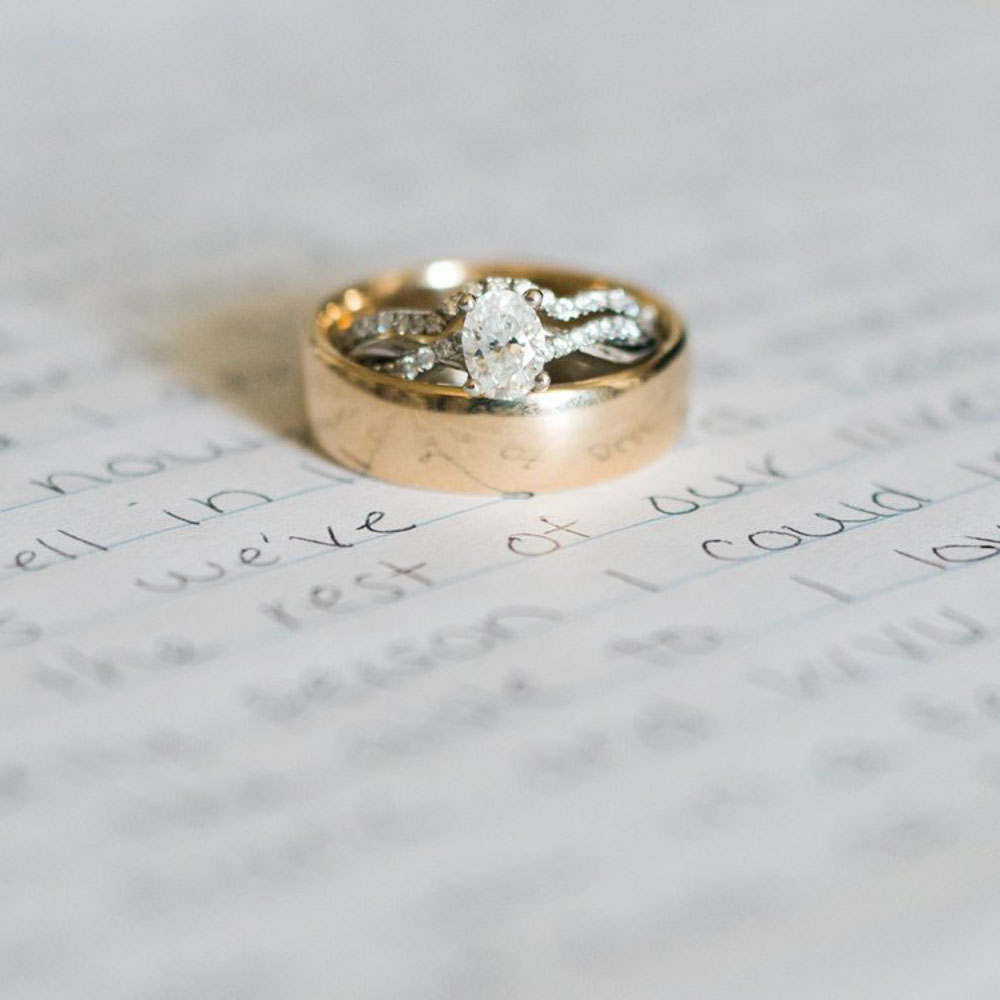
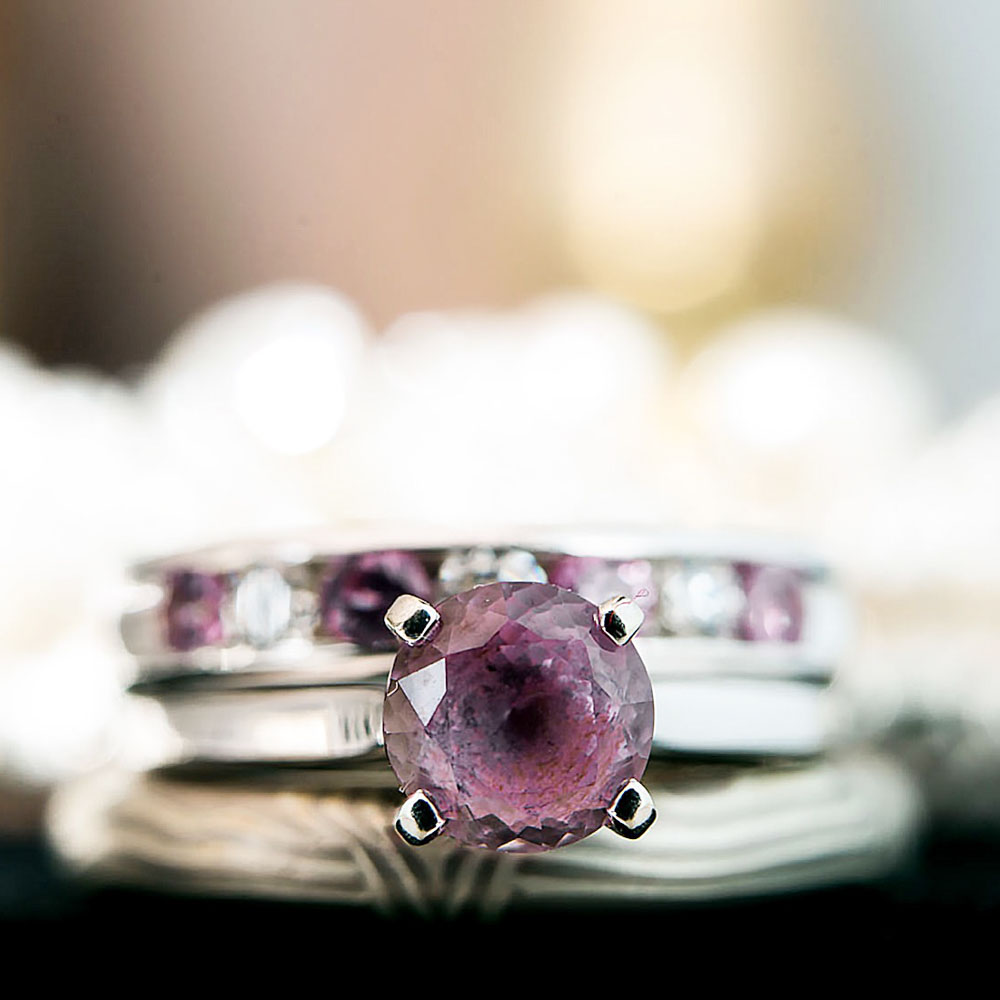
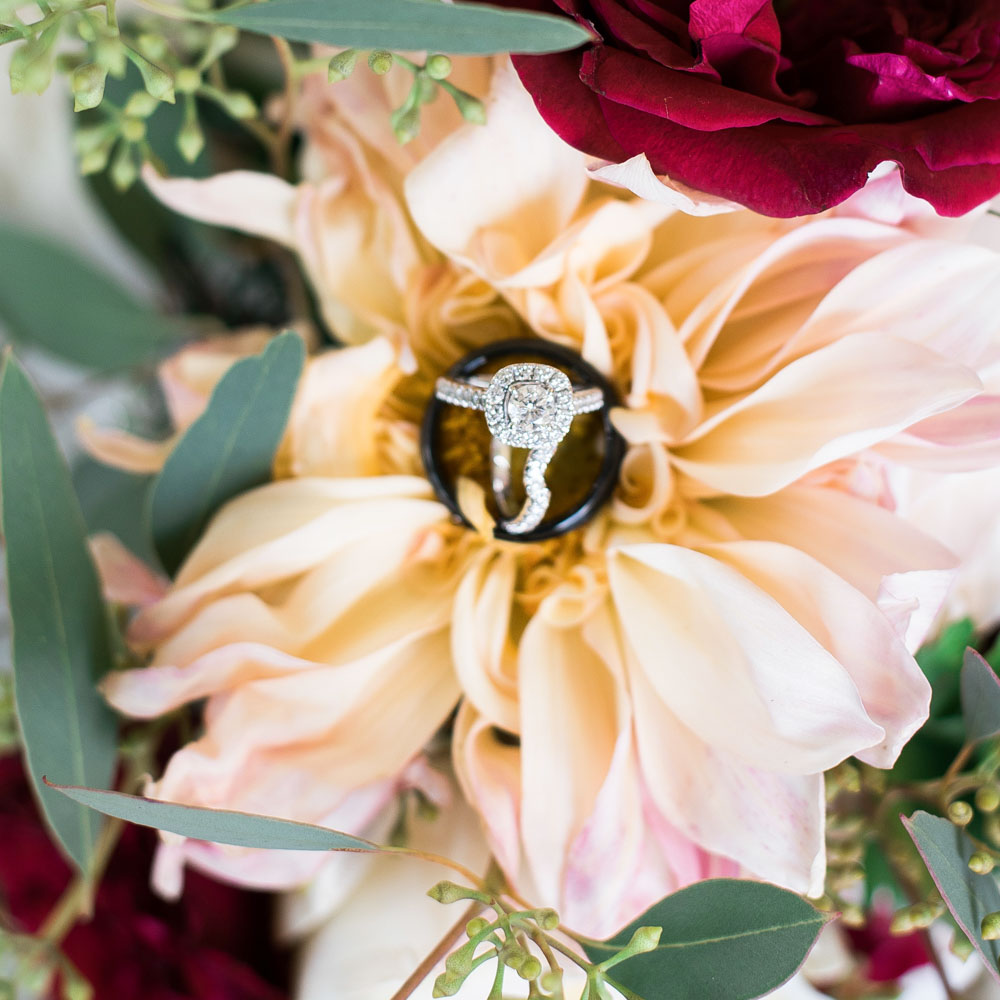
Just to show you the difference in the four methods, I took the same picture with each.
I would tell you what shot is from each method but I honestly cant remember. They are all very similar with the biggest difference being the focal length. It's crazy to me that one of these I used an old lens from the 1960's mounted backwards on my camera and one of them I used a dedicated $600 macro lens.... The point is, don't let gear hold you back, you can get great images very inexpensivly!


Tips for shooting macro images: The closer you are to your subject, the shallower your depth of field. The smaller your aperture (bigger number) the more things are in focus. So when shooting macro, I usually shoot anywhere from F/5.6 to F/11 or so. This gives you a sharp image with enough of your subject in focus.
I also try and find a lot of natural soft light. One reason for this is because with a smaller aperture, you need more light. Also, lighting something that is just a few inches from your camera can be tricky, so I usually stick with natural light just for simplicity sake and so I don’t have to carry more things around.
So what do I recommend? I recommend an extension tube. You can get a set of three for less than $50 from amazon. They work with any camera mode and any lens. You can stick one in your pocket or camera bag and they give great results. Buy a set (make sure they have electronics in them) and have fun. Shoot some bugs, some plants, and some pretty bling.
If you decide to purchase a set of extension tubes, help me out and use the links below :)
Make sure you click here to check out my education page to see all my FREE content and if you sign up for my mailing list, you get a free exposure cheat sheet!